AmbassadorDecorative DiesEmbossing FoldersGuest DesignerNatalie MayOrnamental Lace DiesScrapbookingTagsThe TreasuresThe Van Roe
Introducing Guest Designer Natalie May
#couturecreationsaus
Hi there.
Natalie May here and I am pretty thrilled to be a Guest Designer today sharing a couple of projects I have made using Couture Creations Dies and Embossing folders.
First of all... a little about me ...
I’m lucky enough to be a full time paper crafter, working at Seriously Scrapbooking alongside some of Australia’s most recognised scrappers, teaching around 15 classes a month and designing chipboard for Imaginarium Designs.
I’m also an Intermediate Certified Copic Designer and love everything inky & color based.
I don’t have a particular style – versatility is my biggest asset … from
heritage, simple, sketches and shabby through to mixed media and cardmaking – I like to dabble in it all!
I’m also an Intermediate Certified Copic Designer and love everything inky & color based.
I don’t have a particular style – versatility is my biggest asset … from
heritage, simple, sketches and shabby through to mixed media and cardmaking – I like to dabble in it all!
Currently I am the Design Team Coordinator for Imaginarium Designs Chipboard and recently joined the Creative Team at Australian Scrapbooking Ideas Magazine and sketch team for Scrapbook Creations Magazine plus their Online Team as well. I am also loving being part of the team with kit club A Piece of Cake Designs and White With One Challenge site.
You can view more of my work at …www.happydaks.blogspot.com
And follow me on Instagram ...happydaks_natmay
OK .. onto the good stuff ....
I created this page with a theme in mind - it needed to be young and fresh.
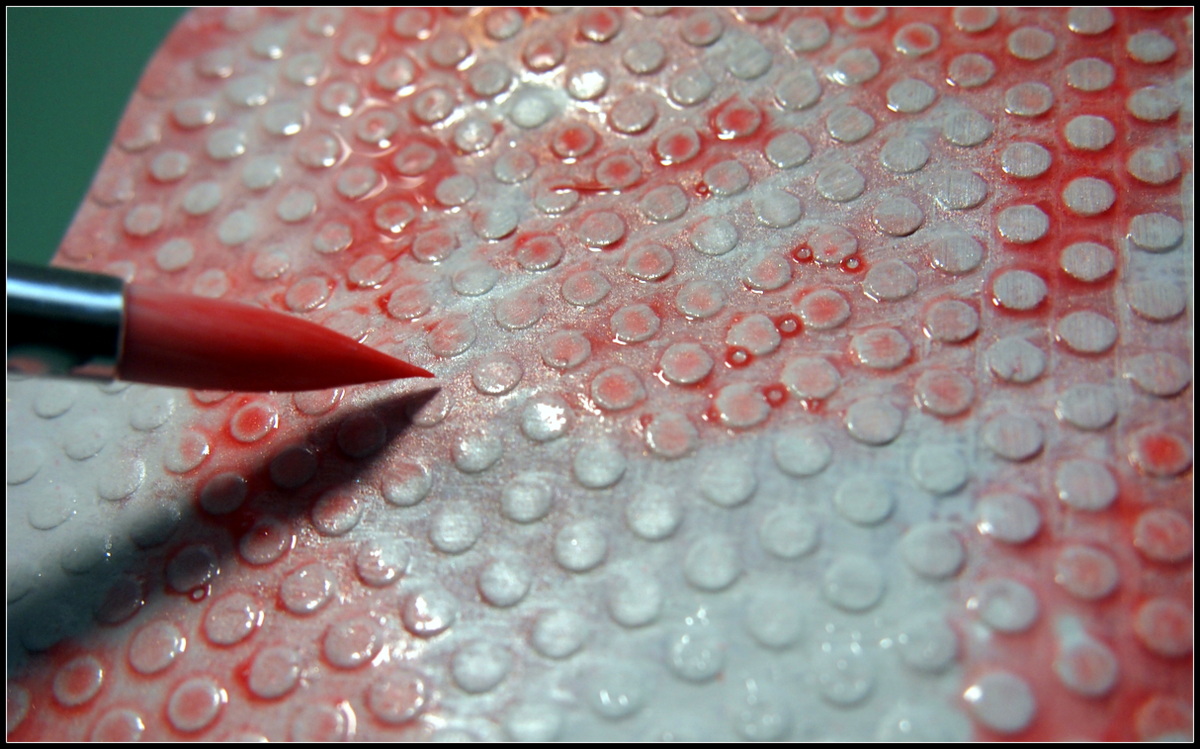
First I used the Large Circles Embossing folder and embossed a heap of white cardstock. I then gave each piece a coat of either gesso or multi-medium so that they would have a different finish.
I then used sprays and created a water colour effect on each
embossed square and allowed them to dry.
embossed square and allowed them to dry.
While I had the brush handy, I took some white flowers, gave them a spray with water
and then added some colour to the petals using a brush - love the soft look it created.
and then added some colour to the petals using a brush - love the soft look it created.
While they were drying, I cut an Art Deco Lace Frame out of some scrap cardstock and
Once dry, I flicked on some colour, dried it with a heat gun and then started arranging and layering my papers. The embossed cardstock squares were cut into frames using a knife, lightly inked around the edges and I layered them in and around a few pieces of patterned paper and adhered them with a stapler.
I'm loving the texture that the embossing has given to this layout.
I couldn't stop at just one project .... I was on a roll and having too much fun so I created a gift tag as well.
I am so loving the current trend towards metallic colours and thought I'd go for GOLD with this one!
My first step was to cut a heap of trees with the Lucky Tree die and
adhere them to the tag with Multi-Medium.
I them stamped lightly around the edges with a text stamp and archival ink and then used Ultra Thick embossing powder and added some chunky gold glitter to create a background.
Using the Tatted Lace Doily Die, I cut some dark brown paper and
adhered 2/3rd of it to the tag folding the rest over the edge. ( this die is discontinued but your local store may still have some stocks)
I then cut a couple of pieces from the Artdeco Lace frame and trimmed them
down before adhering them to the tag.
I cut two pieces of paper from the Memories set - these are perfect for layering and foam mounted them before adding my flowers, Imaginarium Designs Chipboard leaves and words and the birdcage.
Once it was all assembled, I gave it a light spray with a gold mist and added some Gold Mica flakes for some more shine!
Couture Creations Products used on Tag
CO723727 The Van Roe Decorative Die, Lucky Tree
CO723314 The Treasures Ornamental Lace Die, Memories Set
CO723313 The Treasures Ornamental Lace Die, Artdeco Lace Frame
CO723727 The Van Roe Decorative Die, Lucky Tree
CO723314 The Treasures Ornamental Lace Die, Memories Set
CO723313 The Treasures Ornamental Lace Die, Artdeco Lace Frame
Thanks so very much for stopping by and having a look today -
It's an absolute pleasure to create for Couture Creations
It's an absolute pleasure to create for Couture Creations


10 comments